I looked up ways to quilt on several blogs and got some good ideas.
Photos I took are below:
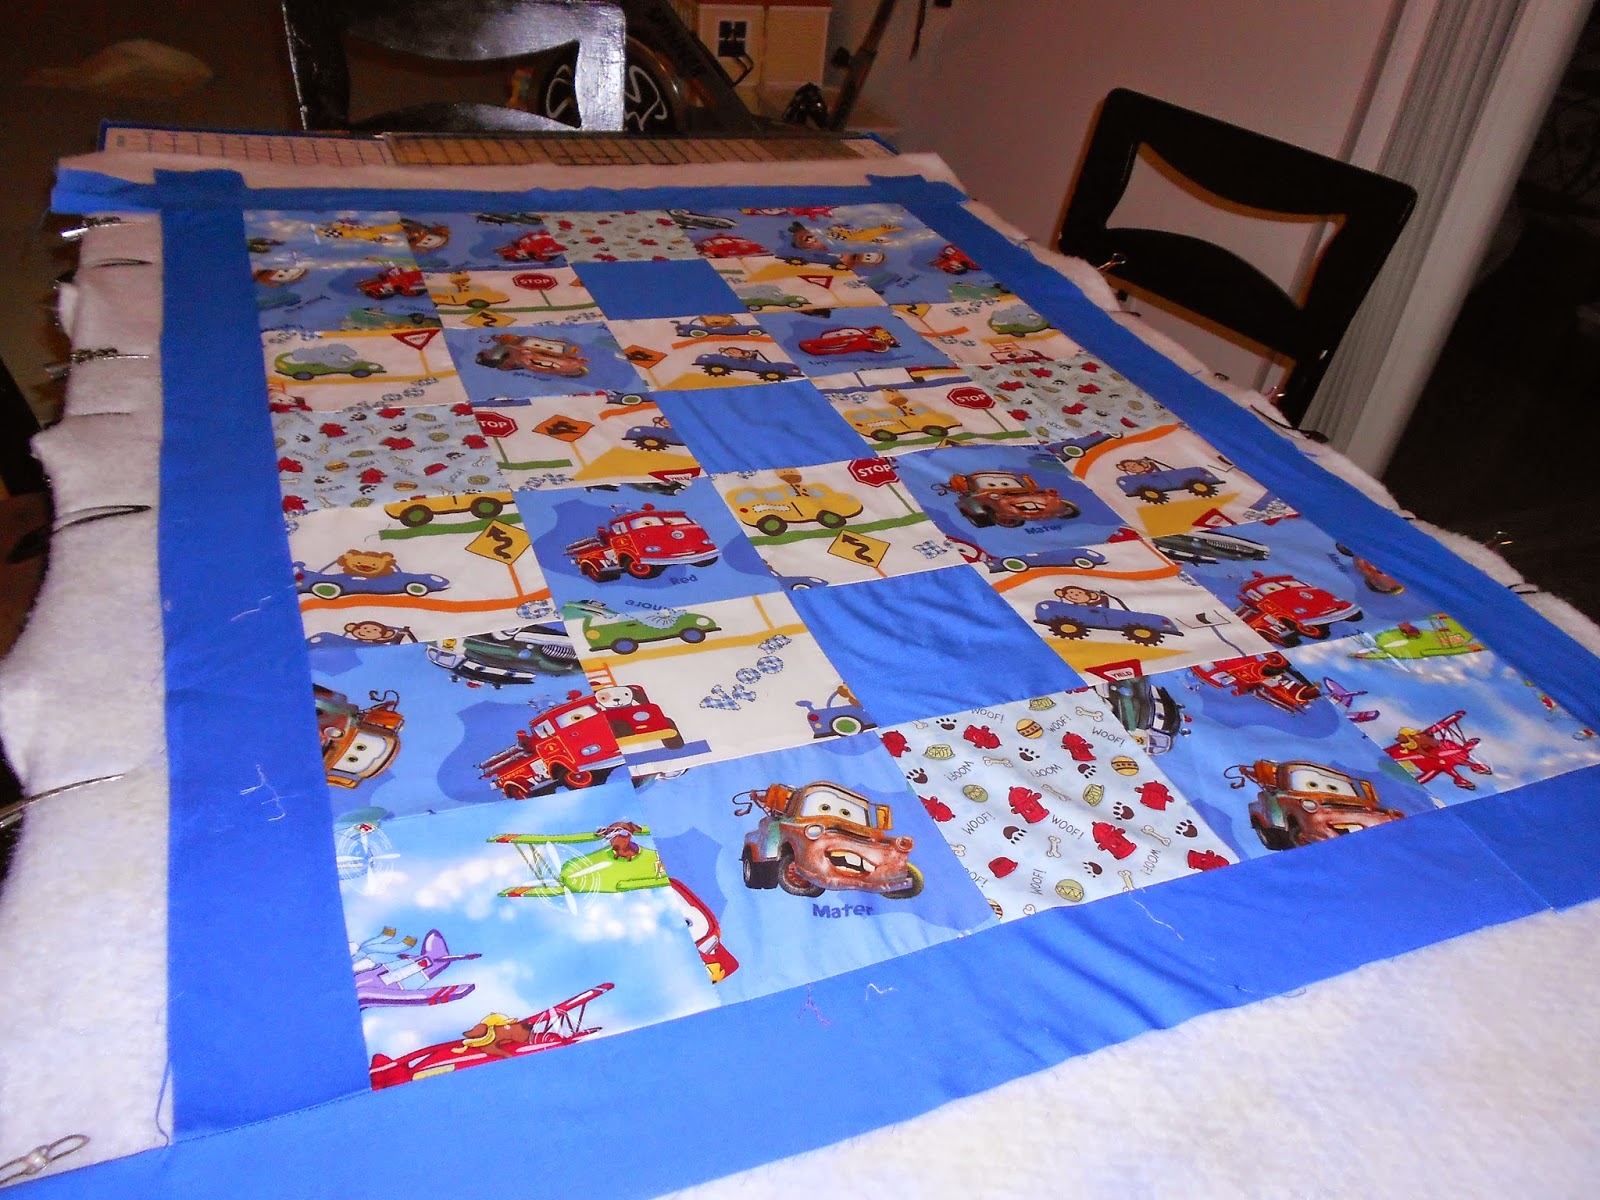
Jerry cut a piece of plywood to use to put the fabric on. I purchased clips (laying on the board) to hold the quilt once it was sewed together to the board.
Above are the squares sewed together.
This is close up of the cute patterns of the squares
After sewing the blue edge on the top piece to make it be larger, I put the back pice right side down on the table top, then the batting, and then the top piece (right side up). I clamped the botom and batting piece to the table.
I started pinning the three pieces (bottom, batting and top pieces) together, using quilting safety pins.
Then trimmed some of the batting and wrapped the bottom piece around to the front to create the binding.
This blue fabric I pieced together from fabric scraps to add to the sides of the quilt to make it larger.
As you can see I used the clips to hold the front, batting, and back pieces together before I sewed along the the edged of the squares on front to be the quilting stitches.
This is a close-up of the cute fabric I had to use for the back of the quilt.
The Finished Quilt!
I love this cute, cheerful, and colorful quilt...for Nolan...


A beautiful quilt, Kay!!! I'm sure it will be well used and loved.
ReplyDeleteFeatured today, Kay...
DeleteI am so intrigued by your "quilting" table! Did you clip the backing and then the batting before laying out the top on top? It looks like it worked quite well, thanks for sharing!
ReplyDelete