Monday, January 28, 2013

Valentine Bookmarks

I am so excited with the Valentine Bookmarks I have made for my grandchildren Evie and Canaan who live in England.  Their mmom is my daughter Jessica who has the incredible blog SunnyStitching.  Evie and Canaan said they would like bookmarks so my brain started creating.  They do really LOVE books....Their parents have really taught them the enjoyment of reading.

I will say I did create these with no visible inspiration and was also excited about that.  Oops....I was inspired to embroider them by Justine of Kerr-afty Creations.  She does beautiful embroidery, click here to see some!

On to the Valentine Bookmarks by Nanny (my "grandma" name)......

There are very few supplies needed.  Embroidery Thread, Embroidery Needles (not pictured), Rotary Cutter or Scissors, Heart Templates, Felt, Template for Bookmark, Ruler and Pencil (not pictured).

 I began by putting paper bookmark template on the edge of the felt.  I use Eco-Fi Felt which is made from 100% post-consumer recycled plastic bottles.

 I placed the edge of the felt along the straight edge of the cutting board and put the ruler along the edge of the paper template.

Then used the rotary cutter (or you can use scissors) to cut out the felt bookmark.  I cut two each of blue and pink ones.  One of each is used as a backing.
Next, I cut out the hearts from felt using the paper heart templates and pinned the hearts where I wanted them on the bookmarks.  Then started embroidering the designs on them  I have included a photo of how I pinned a smaller paper heart onto the larger felt heart.  This was a guide to embroider inside the larger heart onto the bookmark to keep my stitches in the shape of a heart.  ( I hope this makes sense).
Now...time for the fun....embroidering the design on.  
For Canaan's blue and red bookmarks: 
I used the basic running stitch around the inside of the larger hearts on both the red and blue bookmarks. The stitches on the red center hearts are done with red thread so it is hard to see.
The running stitch also for the sun and the cloud on the blue one.
The chain stitch for the "C" in blue thread on the red one and for the rainbow on the blue bookmark.
I used the twisted running stitch for the top and bottom of the hearts on the blue ones in red thread.
I used the blanket stitch around the edges of the blue one. I added another piece of felt to the back of the pink bookmark so the stitched on the back of the front piece would not show.
For Evie's pink and red bookmarks:
I used the basic running stitch around the inside of the larger hearts on both the red and blue bookmarks.
The chain stitch for the "E" in pink thread on the red bookmark;  in purple thread for the inside top and bottom of the three pink hearts on the pink bookmark; and in green thread for the stems of the flower.
The daisy stitch for the flower in the center heart of the pink bookmark and french knots as indicated in photo.
The blanket stitch around the edges of the pink one. I Iadded another piece of felt to the back of the pink bookmark so the stitched on the back of the front piece would not show.

These were so fun and enjoyable to make for adorable Evie and Canaan!

All of them.......

Happy Valentine's Day, Evie and Canaan

Shhhhh.....These are a surprise!

Saturday, January 26, 2013

Valentine's Cup Sleeves and Hats!

We have some new listings in our etsy shop SunshineMakings that we have enjoyed creating.

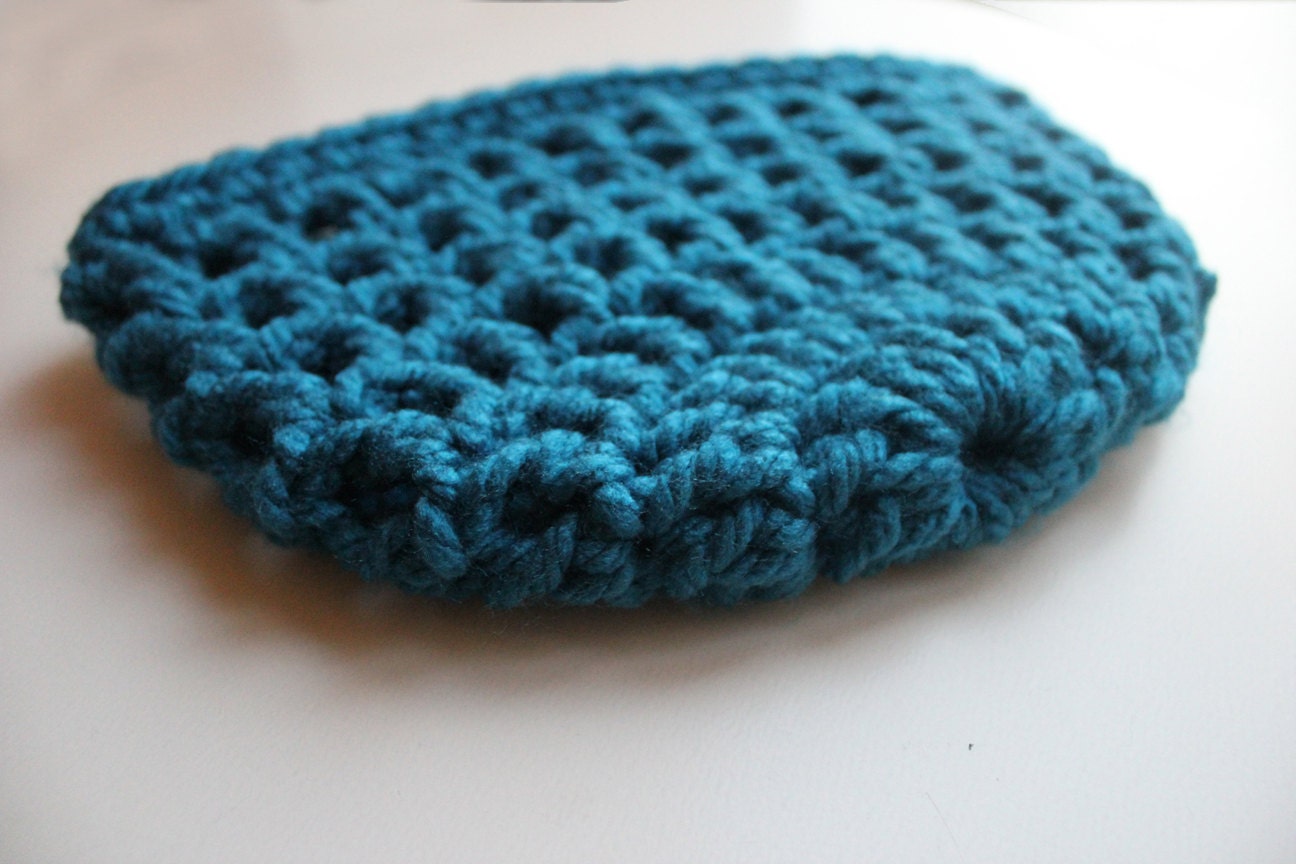
 There are two new colors of crocheted hats. 

 There is only one of the multicoloured hat and as of now we don't have the materials for another one. So, now is your chance to have this truly uniquely colorful crocheted hat!

 Click Multicoloured Crochet Hat to see it in the shop
 
We have also added the cheerful pink crocheted hat below.

 Click Pink Crocheted Hat to see it in the shop.

 We have also made more Cup Sleeves.... We have added the special heart buttons to our popular cup sleeves to
make them extra special gifts for Valentine's Day.
There are 7 color choices for the sleeves and a few choices of buttons, too.

Click Pink Love Heart Sleeve to see it in the shop.


 Click Love Heart Cup Sleeve to see it in the shop.


Click Love Heart Cup Sleeve to see it in the shop.

  I am offering a January discount to anyone who follows my blog.  Just enter the code: JKBLOG to receive a 10% discount at Sunshine Makings anytime in the month of January.

Thursday, January 24, 2013

Bullfighter Mosaic

Years ago I traded a clay flower pot that I had covered with broken tiles - using mosiac method for 3 boxes of tiles with painted pictures on them.  I was THRILLED.  I made some table tops for our patio which you can see here.  However, it has taken me sometime to make the Bullfighter tiles into a mosaic piece.

It is easy to mosaic.  Not many supplies are needed and it is a fast project.  For this project I used tiles that have smooth edges.  Another time I will post how to break dishes, tiles to use for creating mosaics.

 Please remember that these tiles were just loose in a box.  First you get a piece of hardibacker from your local building store like Lowe's, etc.  I apologize for not having photos of this step.  Lay the tiles loose on the  board to decided how big to cut the hardibacker board.  Dust off the board really good and start gulling the tiles down one at a time with either spray adhesive like or a paste adhesive that are sold for laying tiles.  
With this one, I penciled around the tiles so I would be able to glue them on without guessing where they go.

 Now it is time to add the grout.  Supplies needed:  container for water, container for mixing grout in, grout (I used KeraColor grout which I purchases at our local Lowe's, gloves, spoon and/or knife for mixing, old towel.
 Here are the kind of gloves I like to use.  They allow me to feel the grout as I spread it over the tiles and provide protection if you are using broken tiles.  These are all store bought and have smooth edges.
 A close up of the grout I use.

 Pour some grout into a container that you do not want to keep.  Add water and mix it until it is consistency of creamy peanut butter.  The grout is very fine sand so you may want to wear a mask if you are sensitive to dust.
Stir the water and grout with a disposable plastic spoon adding either ingredient as needed to get the right consistency.
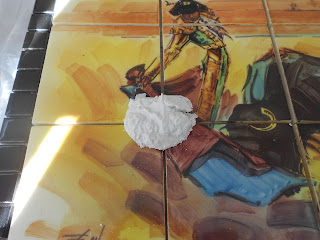
Spoon a bit of the creamy grout on the piece you need to grout.
 Rub in circular motion until the cracks are sufficiently filled in.  It is good to put a few layers on rapidly to make sure grout is completely filling in the spaces between the tiles.
 Here you can see how I have filled in a lot of the spaces but there is residue of grout on the tiles.
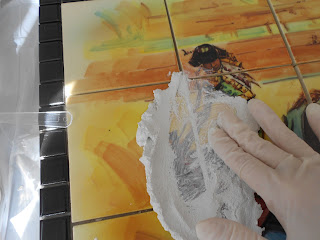
 Start wiping off the residue grout with your old towel pressing gently to smooth out and even off the edges along the spaces you filled in.  I love to see the shiny tile pictures or designs start so show.
Here is part of the beautiful painting cleaned off with the grout having filled the spaces in nicely.
 Wanted to show you how I also grout the outer edge of the tiles all the way around and do the same gentle scrubbing and evening off the grout with you towel.
 A closeup of the part of the beautiful painting!
 The finished Bullfighter Mosaic!

One piece at a time............
 

Wednesday, January 23, 2013

Mosaic Round Table

When my daughter Jessica (who has the fabulous blog SunnyStitching, as well as SunshineMakings etsy store)was in junior college she worked at a local coffee shop.  They decided to exchange some of their older tables for newer ones and gave her one.

It had a wooden top and black metal base.  We set it on our front porch and over the years the wood started warping and decaying due to weather wear.  It is such a neat table so we purchased some HardiBacker Board (which is fantastic to use as a base for creating a mosiac from tiles)and cut a circle the same size as the wooden top had been.

Jerry repainted the base and after it had dried, he screwed the HardiBacker Board to the black stand.

 I proceeded to get out a box of rectangle white tiles that someone had given me.  I decided to go to our local building supply store Lowe's and buy some square black ones. 
I did lay out the design with the tiles  on a piece of poster board that I cut to be the same size circle before I sprayed the adhesive on the HardiBacker board.
Then I used the spray adhesive that professional tilers use to spray on top of the hardibacker and start sticking the tiles down.  You have to work fast with the spray adhesive so I only sprayed one area at a time.

The mosaic design transformed the table to be artsy and so pleasing to see.  Jerry and I used it one evening when we had our Golden Globe Awards Dinner which you can see here.

It sits on our front porch still with a beautiful succulent plant in the center.
I love seeing it each time I go in and out of our home.

Have a lovely evening........

Scarves, Cup Sleeves and SunshineMakings!

My daughter Jessica (SunnyStitching) and I have recently opened SunshineMakings etsy store!  This has been a goal of Jessica's for the last two years and it is very special to have a shop together. We would love for you to visit Sunshine Makings and share in our excitement.We have eye pillows, wiinter wear, and other wonderful items available.
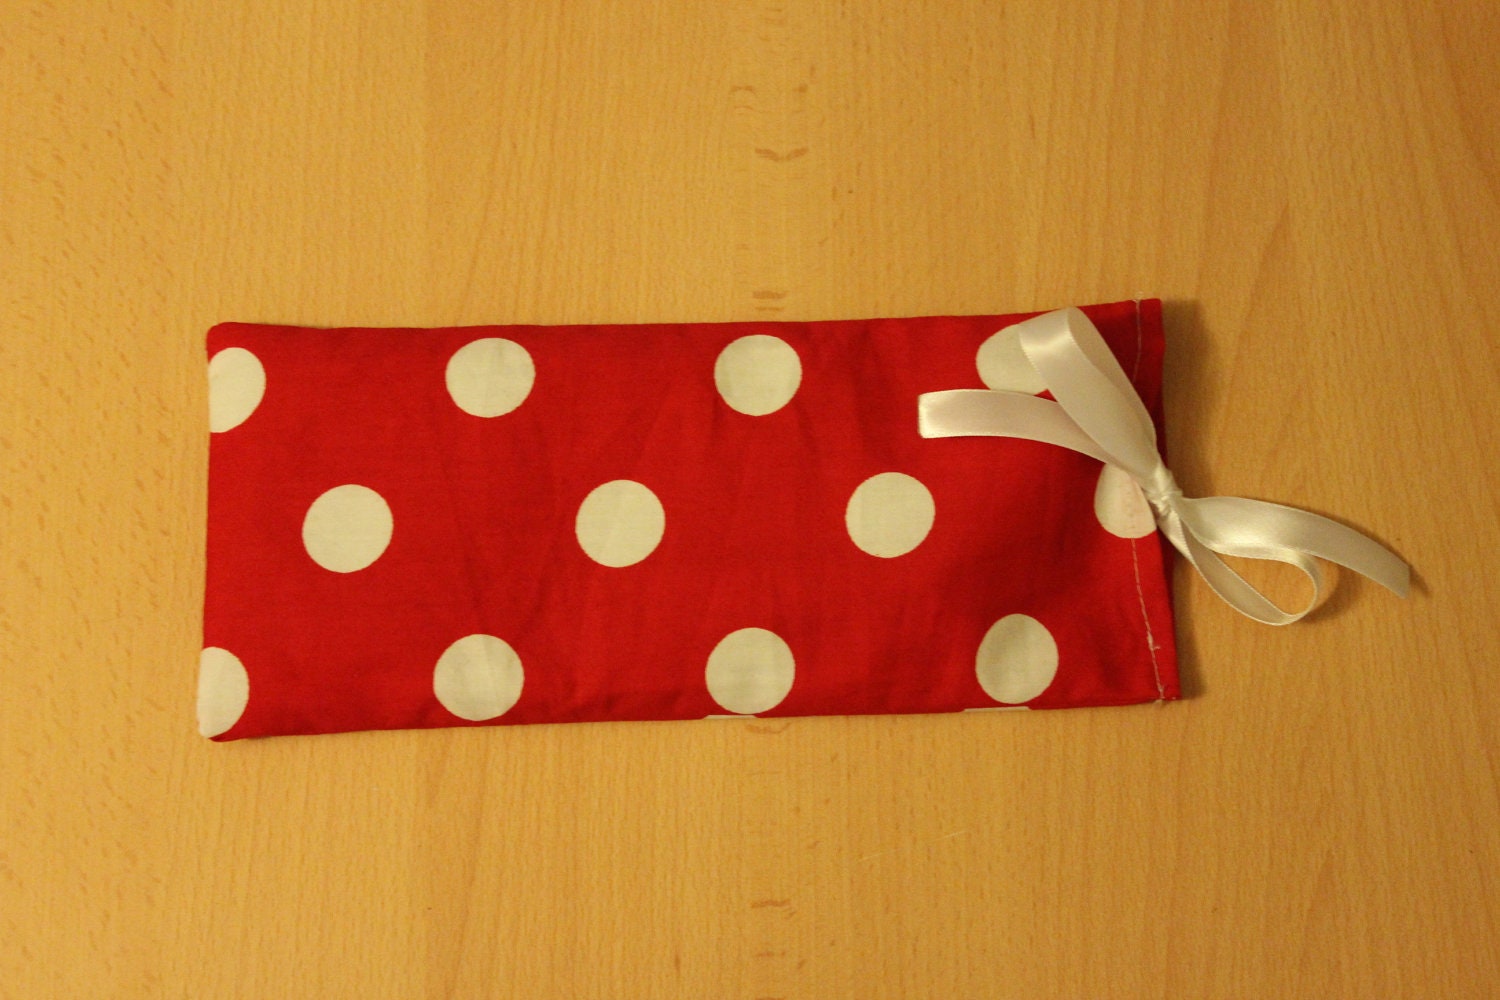
We are so very excited at the great response we have received!
Here are some  beautiful items from SunshineMakings!...but there are more for you to enjoy when you view the store!!!!!

Jessica made these lovely Flaxseed and Lavender Eye Pillows.  She actually harvested her own lavender to use in them.  They are very beautifully made - A Wonderful Valentine's Gift.
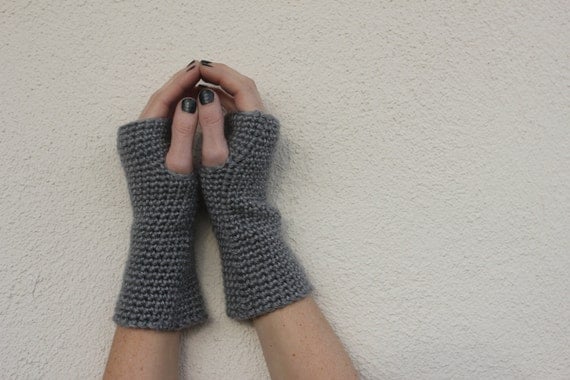
Valentine's Day Gift - Grey Fingerless Gloves, Grey Wrist Warmers
            I was happy to crochet these lovely fingerless gloves.  We also have a multicolored pair of these cozy, warm and comfortable gloves on Sunshine Makings.

Delphinium Blue Crochet Hat - Valentine's Day Gift for Her 

 Beautiful Blue Hat crocheted by Jessica
These hats have also been well received and ordered by customers!

Red Crochet Cup Sleeve, Crochet Cup Cozy, Cup Cosy, Great Valentine's Day Gift
 So far, the coffee cup sleeves and the hats (see above) have been our most popular sellers, online and offline. And now we have all the colors of the rainbow for you to choose from:):)  These are wonderful Valentine's Day gifts, or ......anytime gifts!
                                           
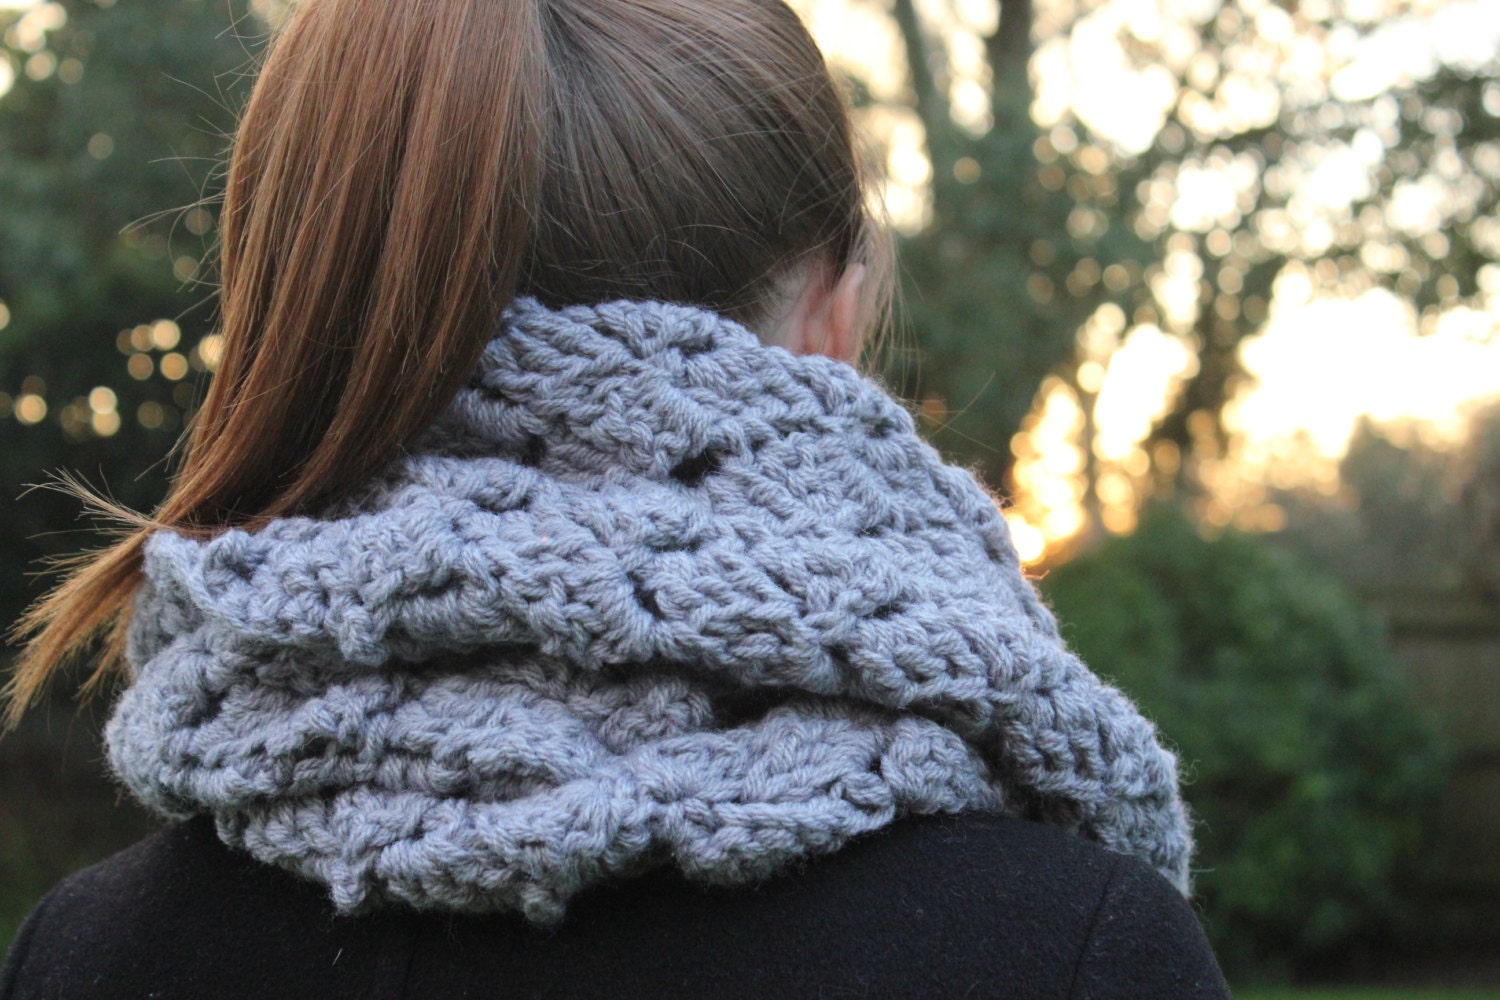
Grey Infinity Scarf, Valentines Day Gift, Womens Scarf, Crochet Scarf, Circle Scarf, Cowl
Jessica created the pattern for this beautiful and cozy infinity scarf.  You can see other pictures of it here as well as on SunshineMakings.  It is so soft and warm!
One of our favorites is this baby blanket. It is so soft and has such a wonderful combination of colors.

We look forward to your visiting Sunshine Makings!!!!


Tuesday, January 22, 2013

Mosaic Table Tops

Years ago I was so blessed to trade a clay pot that I had mosaiced with pieces of tiles.  I received 3 boxes of tiles that had pictures painted on them and was so excited.  The tiles were beautiful!

That was before the blog so I do not have any how to photos.   However, I did break up some of the tiles with the tool pictured below.  The ones I could not cut, I put inside a thick towel and hammered them into small pieces.  Just don't hammer too hard or the pieces will be very very tiny and unusable.  I used Henry's products to glue the pieces down to the pieces of wood that were cut to the size I estimated; and to make the grout with that filled in all the spaces.  I have since changed adhesive and grout products....not for any specific reason, just wanted to try out different ones.

 This tool is also available at building supply stores.
To estimate the size, I laid the whole tile pieces on a big piece of wood, estimate space I wanted to frame around them, and Jerry cut the wood to that size.  I also estimated how much space I wanted between the tiles that make the painting.   I then glued the bigger tiles down and the cut up pieces and glued them on.  The tiles do not need to have a lot of space between them as the grout can easily fill in narrow spaces.

Sidenote:  The wood warped several times over all these years and I had to redo each table top until a friend told me about HardiBacker Board that professional tilers use.  It does not warp and is fantastic to work with so I did redo each of them the last time on it...Yea!)

I used 4 cylinder blocks to lay the final mosaic tabletop piece on and they sit outside as end tables on our patio.  They have lasted remarkably well even though they sit outside in all kinds of weather.  I completely enjoy seeing them on our patio, using them and seeing them shine when I clean them.


 The 6 tiles in the middle of this mosaic all had beautiful flowers painted on them.  The rest of the tiles had leaves painted them.  I chose to surround the flower tiles with pieces of tiles with the leaves painted on.  It reminded me of a garden.  You can see the cylinder blocks sticking out behind the mosaic.  They usually sit directly under the mosaics but did it this way for the photo.


A closeup of the pretty flower paintings on the tiles.
Another closeup of the other 4 flower tiles.


 The next mosaic table top is a scene, a very peaceful scene of a village, perhaps in Mexico.  This is Jerry's favorite.  You might notice the crack in one of the painted tiles.  It was broken but I didn't mind....just put the pieces on broken to create the painting.


 A closeup of part of the scene.
 Another beautiful closeup of this scene.

Creating mosaics is so enjoyable and relaxing.....