Friday, February 13, 2015

Project Yesus Pillowcase Dresses

So, continuing in catching up, in May it was time again to sew some Pillowcase Dresses for Project Yesus.  Mallory Fundora who founded this organization as a young girl actually takes these dresses to girls living in Uganda.  You can see here story here.

I ran into the Pillowcase Dresses Project on the blog of Charlene at A Pinch of Joy a few years ago.  It is always a project I look forward to each year now.  I still follow the tutorial Charlene posted which she has a link to on her site. Other tutorials are on a page on Project Yesu here.

The dresses I made in May 2014 were all from the same fabric and ribbon that I purchased at our local JoAnn Fabric Store.  I made 4 different sizes and shipped them to Mallory.


I just noticed that Mallory is now collecting shorts for the boys in Uganda.  They can be sewed or purchased.  Like the fabric for girls' dresses is colorful, she recommends cheerful colors for he boys' shorts also.  I plan on making some this year of 2015 as well as dresses.

What a lovely way to share....thank you Mallory....


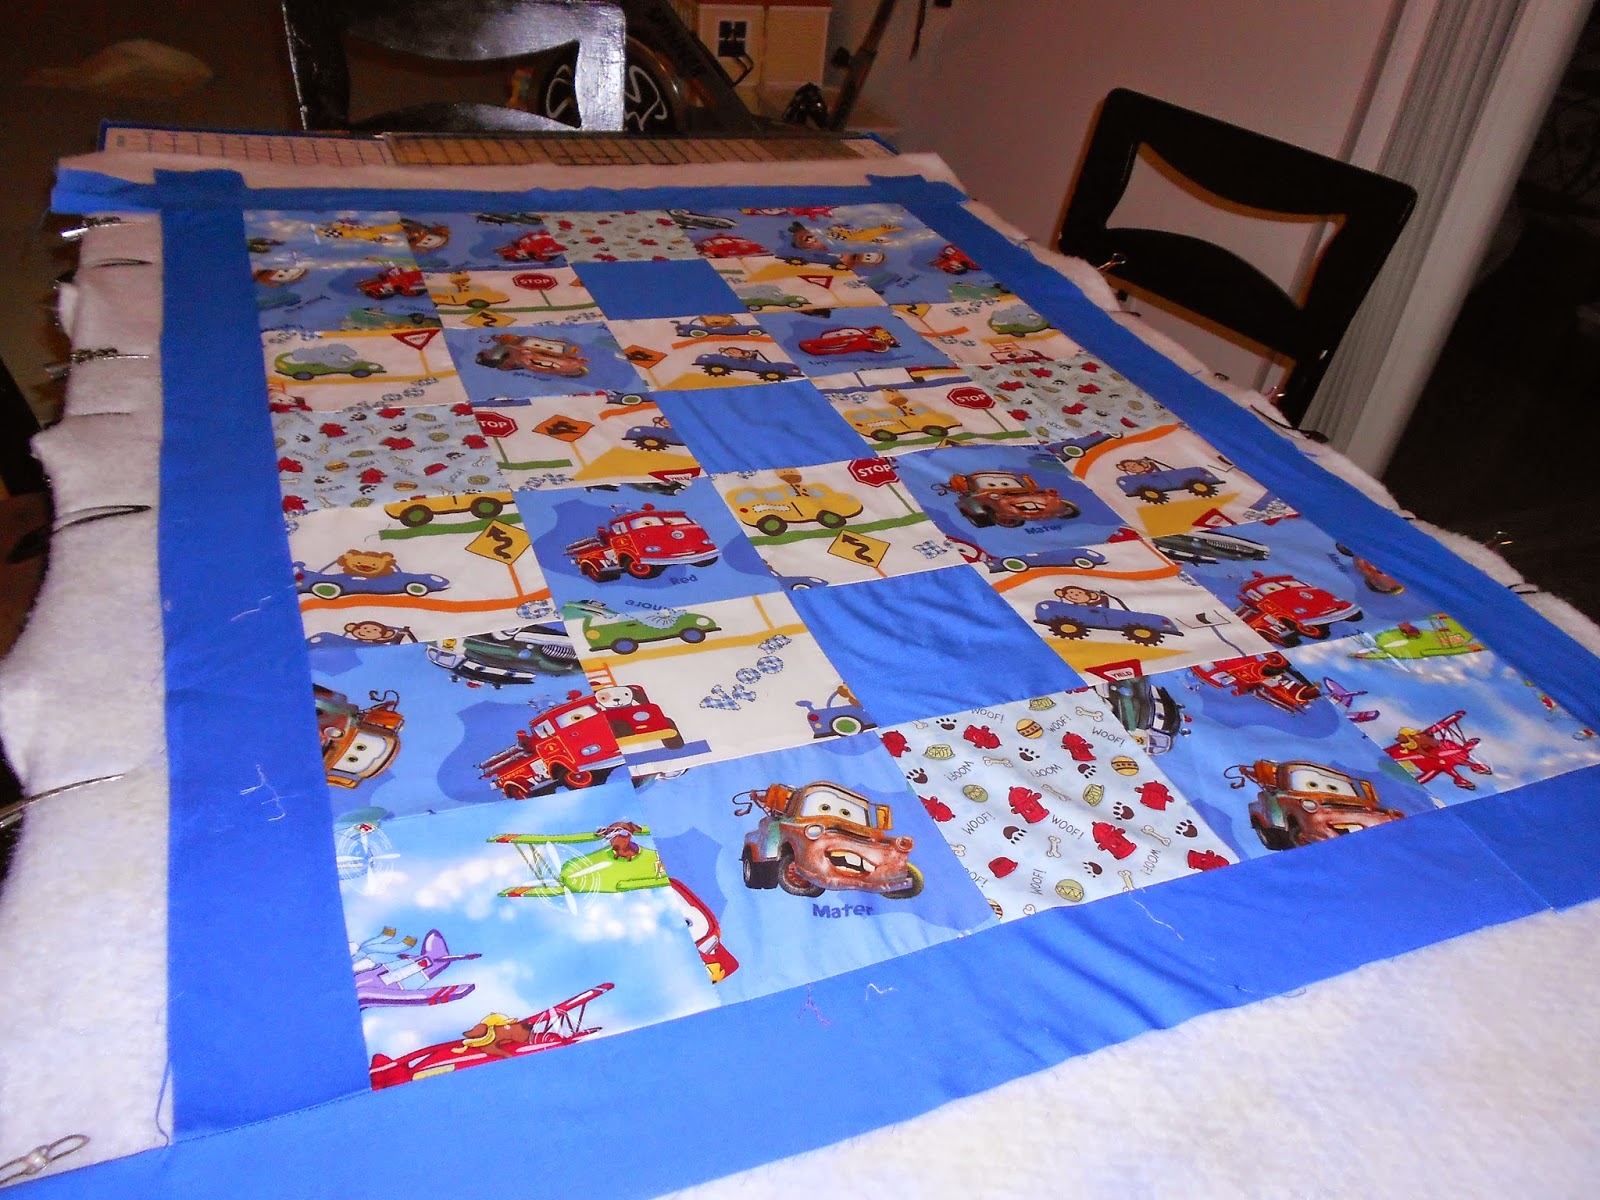
Colorful Boy Baby Quilt

Later in May, I wanted to start using up some of my fabric scraps.  I had a lot of cute fabric from shirts, etc I had made for our grandsons. I initially was going to make it to donate to an organization called Wrap Them In Love.  I was showing a photo of it to my daughter who had recently had a little boy who was about 9 months old.  She loved it so I actually ended up making it for my precious grandson Nolan.

I looked up ways to quilt on several blogs and got some good ideas.

Photos I took are below:

Jerry cut a piece of plywood to use to put the fabric on.  I purchased clips (laying on the board) to hold the quilt once it was sewed together to the board.
Above are the squares sewed together.
This is close up of the cute patterns of the squares
After sewing the blue edge on the top piece to make it be larger, I put the back pice right side down on the table top, then the batting, and then the top piece (right side up).  I clamped the botom and batting piece to the table.

I started pinning the three pieces (bottom, batting and top pieces) together,  using quilting safety pins.
Then trimmed some of the batting and wrapped the bottom piece around to the front to create the binding.
This blue fabric I pieced together from fabric scraps to add to the sides of the quilt to make it larger.


As you can see I used the clips to hold the front, batting, and back pieces together before I sewed along the the edged of the squares on front to be the quilting stitches.
This is a close-up of the cute fabric I had to use for the back of the quilt.
The Finished Quilt!

I love this cute, cheerful, and colorful quilt...for Nolan...

Easter Egg Mini Cakes

Well, I think I have gotten a little out of chronological order in catching up 2014 blogs.

At Easter of 2014 I noticed a recipe in the April 2014 Issue of Woman's Day Magazine for Mini Easter Egg Cakes, decorated.  I had never decorated using the Decorating Tools, so was excited to try this recipe.  I had purchased a decorating set while visiting Jessica (Crochet Nature) and her family in England.
If any of you would want the recipe, please let me know and I will mail you a copy.  The directions are first for the Lemon Cakes, then the Poured Fondant, and last the Royal Frosting.

Yes..I was nervous!!!!  I had never made fondant and not very steady handed with the final decorating.

I purchased the silicone oval pan as recommended in the directions...I found it on either ebay or amazon {(can't remember...another reason to post sooner than months later:)}

I did not have a Kitchen Aid at that time so used a hand mixer.  Definitely trying the Kitchen Aid next time.

It turned out the silicone pan I ordered only had 8 oval cavities when the recipe used one that was much smaller.  So...I adjusted the recipe and used 3 TBS batter per cavity instead of 1 TBS.  The 8 cavity pan made 13-15 lemon cakes.

Anyway, enough chatter.  Below are some photos of my attempt at these lemon cakes!

Here I am mixing up the batter. First whisked flour, baking powder, salt . Then beat butter, sugar and lemon zest.  Added eggs and after they were beat in, added flour mixture along with milk and lemon juice.
Divided the batter among the cavities in the silicone pan, 3 TBS per cavity. placed silicone pan on a baking sheet and baked 350 about 15-17 min or until toothpick comes out clean.
Transferred to sire rack with rounded side up.  Rinsed oval pan and made another batch.

I did not take photo of making the fondant...but put 1lb powder sugar, 1/4 C light corn syrup and 3Tbs Water in heavy bottomed saucepan on low heat and stirred until melted and warm but not hot to touch, 3-4 minutes.

Held each cake on a fork and spooned frosting over the top covering all sides.  Then put back on wire rack. (also had cookie sheet under wire rack to catch fondant as it covered each cake.
Cakes after having fondant applied.
Next, made the Royal Frosting which was quite easy using egg whites, vanilla extract , crean of tartar and powdered sugar. Looks nice and shiny above.
Did not take pictures of how I used custard size bowls and put some of Royal Frosting in each one and added food coloring to have four different colors along with leftover white color frosting.


Used Pastry decorator and tips that came with it to decorate the eggs cakes.  Even though I am not so great at this, it was fabulous fun!!!! and I felt like a pro!
A peak of the luscious inside of the lemon cakes.


Beautifully decorated Lemon Cakes.

Of course, put them on a plate, wrapped them prettily and delivered to the neighbors........

Sidenote: Had requests for more from two of the neighbors and got to make more the next weekend!


Big Cloth Blocks

It was Summer of 2014 and Time for a baby shower!..for my daughter Mary. My other daughter Jessica (Crochet Nature)(Crochet Nature Facebook) and I decided to make some big cloth blocks for the baby who was on the way.  We were hosting a baby shower for Mary and wanted to use decorations that she could then use for the baby.  The blocks were some of the decorations.

We used pattern from Smile and Wave Tutorial , and were able to use fabric we had on hand.  We put added noisy items in the center of the filling: jingle bells in one, cellophane in another, and marbles secured in easter eggs in the third. .  We appliqued A, B, C and X, Y, Z in upper and lower case on the squares that make up each block, and sewed the 6 squares together to make each block.

You can see how cute they look surrounding Nolan in his crib.   Now that he is older, we can play catch with them:)
He is so adorable

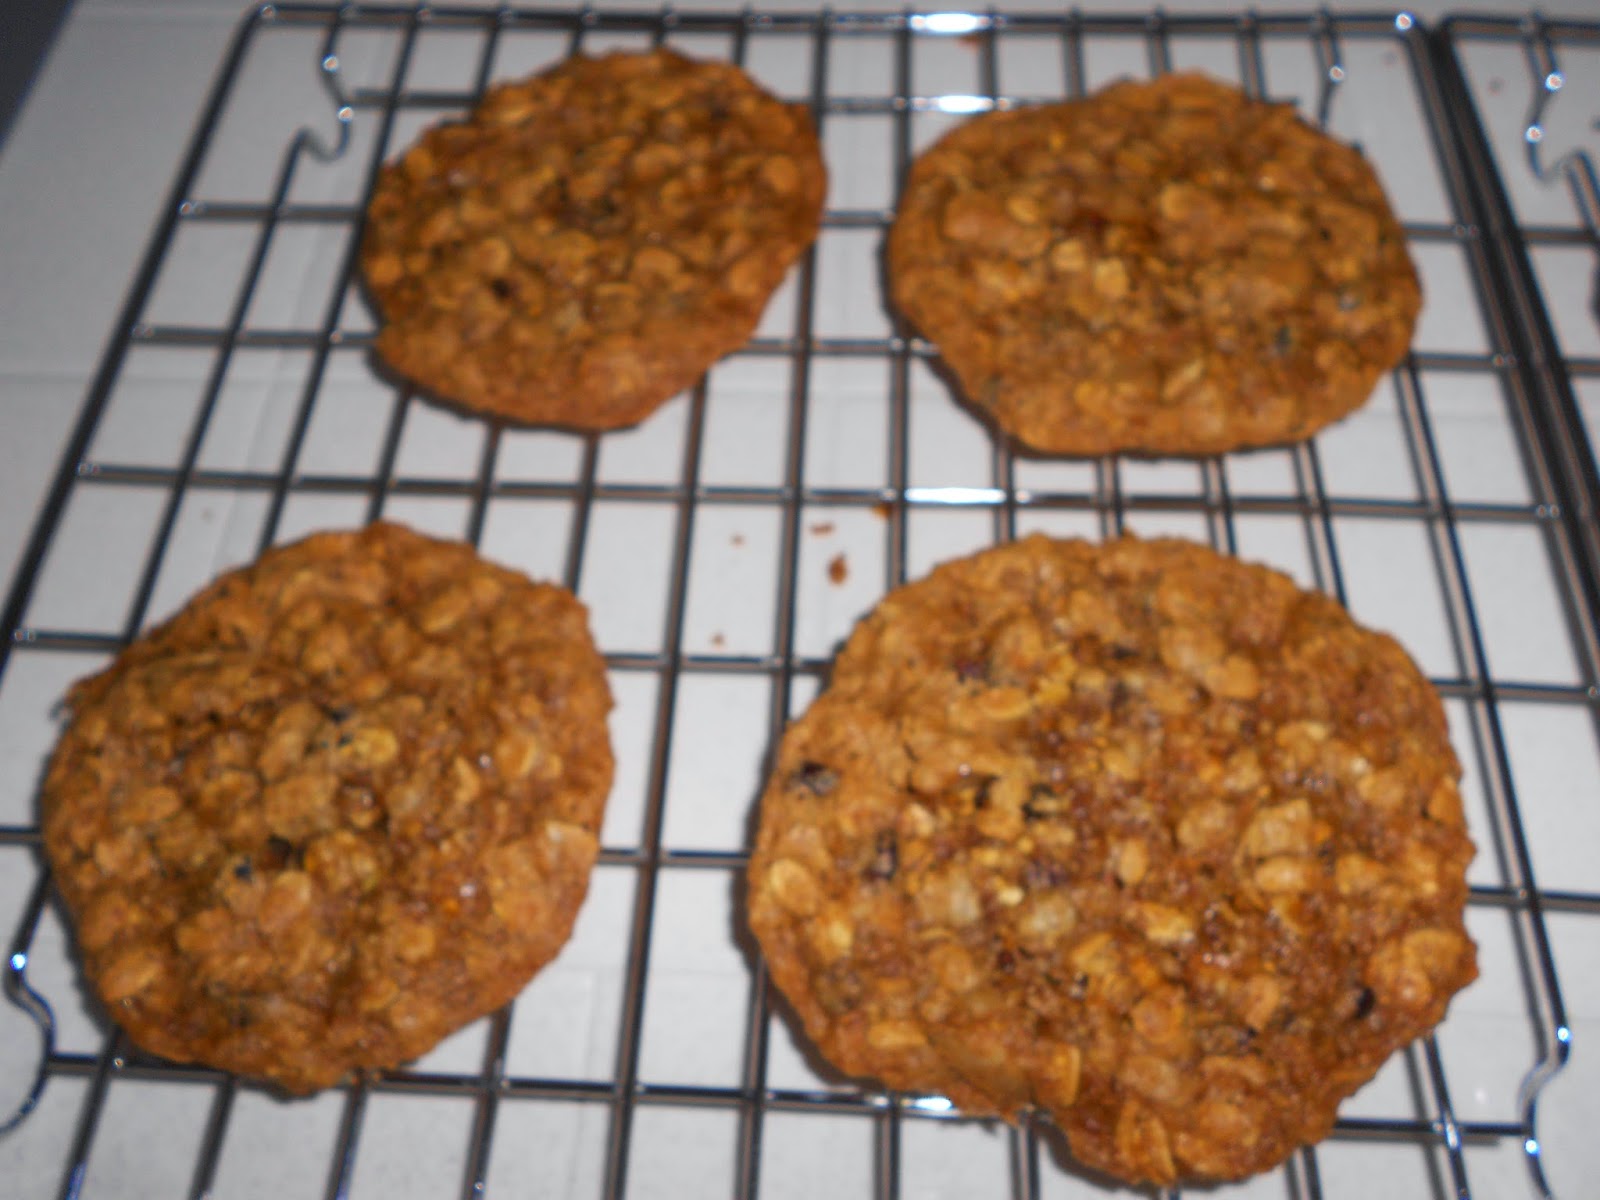
More Cookies!!!..Gluten Free

We buy the gluten free organic rolled oats from Trader Joe's.  I noticed on the package there was a recipe for gluten free oatmeal cookies and decided to give it a try!
I don't think the photo of the recipe came out very clear...It is as follows:
1/4 C Butter
1 1/4 tsp Baking Soda
3/4 C Sugar
3 Cups Trader Joe's Rolled Oats
3/4 C Brown Sugar
6 oz Chocolate Chips
2 Eggs
1/2 C Sunflower Seeds or Chopped Walnuts
1 tsp Vanilla
1 C Peanut Butter
I used the Cacao Nibs in place of chocolate chips

Preheat Oven to 350 deg.
In large bowl combine sugar, brown sugar, and butter and beat until creamy.
Add eggs, vanilla and baking soda and mix well.
Add peanut butter and mix.
Stir in oats, chocolate chips and nuts.
Place teaspoon full of dough on lightly greased cookie sheet about 2" apart.
Bake 10-12 minutes until lightly brown around edges.


GOOD COOKIES


Thursday, February 12, 2015

Back to Blogging

Well, after months of not blogging, I got the urge to start again....for the second time!  I hope to continue if only one time a week.  I always look at Crochet Nature's Facebook Page and Website,
and have been looking at other blogs such as Threading My Way , Creating my Way to Success which I have always enjoyed.

So now to play catch-up.

I will begin in May of 2014....my neighbor asked if I would mind hemming curtains for her two daughters' room.  I was delighted.  Below are photos of the cute, cheerful fabric the curtains were made of.  She said I could keep the scraps which were a good amount of fabric...I was excited.

 The cute polka dot curtain before I cut it off about 8".

After I hemmed the lining and curtain.

I do not have a picture of it hanging the the girls' bedroom but their mom said it looks so pretty and the length was perfect.

It was so enjoyable to sew this cheerful fabric.

Fried Zucchini

There were several zucchinis in the refrigerator that needed to be used.  I found the following recipe and endeavored to make some fried zucchini....using a recipe from tastebook.com

Ingredients

1/4 cup Homemade Breadcrumbs
1/4 cup grated Parmesan cheese (optional)
1/8 tsp black pepper
heaping 1/2 cup whole wheat flour
1 cup cold milk (I used oat milk)
1 tsp apple cider vinegar
2 1/2 cups sliced zucchini (about 2 small zucchinis)


Directions

Preheat oven to 425 degrees.
In a medium bowl combine breadcrumbs, cheese (if using) and black pepper.
                 In separate bowl add flour, milk and vinegar. Gently stir until combined but do not over
stir.

Dip zucchini slices in flour mixture and then dredge in breadcrumb mixture.
                    Place coated zucchini slices on a baking sheet (I line mine with non stick foil for easy       clean up!) 
                    Bake for 30 minutes, flipping the slices over once halfway through cooking, or until          browned and crisp.
I was so excited that they turned out so delicious!

Always fun to try a new recipe.....