Showing posts with label Bags. Show all posts

Sunday, March 10, 2013

Denim Project Bag for Yarn

I have been wanting to make a yarn bag for current projects that would be easy to take to appointments, friends homes, and even on an airplane.  I started last weekend ....  it turned into a week long project!  So glad to finally be able to share it!

I found some pretty denim fabric that has been in the stash for quite a long time and decided to use it.

I used an existing tote bag as a pattern and also as the lining to which I sewed a pocket on each side to hold books.
Took apart corner of bag to measure
Bag with corners undone to make pattern from
Pocket sewed to each side of original bag that is now the lining.  I later made a strap for each pocket and velcroed the strap to the pocket to hole the books more sturdy.  I also used two pieces of fabric for each pocket, folded in their edges and sewed them before sewing to bag.
 Then I made a sturdy bottom piece by cutting a piece of foam board to fit in the bottom, and covering it with the fabric.  At first I sewed as below and used pinking shears to cut around the edges.  However, later took this apart and sewed the fabrice with seam turned inside, leaving an opening,  and put in the foam board and hand sewed the opening.
Foam Board covered with fabric
 I also added velcro to one inside edge and created a cylinder shaped yarn holder that would velcro to that edge and the working yarn would go in it.  I did use a stiff fusible pellon in the yarn holder to make it stiff.

Cylinder holder for working yarn with velcro closure to hold different size skeins.
Then, I wanted to make a holder for whatever crochet hooks I would be using and created this fold up hook/ruler/scissor holder.  Hopefully, you can see how there is a top that first folds down over the hooks and the the two remaining sides fold up and velcro closed preventing the hooks, etc from falling out.
Shows hooks in stitched down pockets; velcro at top that folds over the hooks
Two sides folded over each other and fastened with straps velcroed together.
I used a fluffy fusible pellon inside the straps and also inside the body of the bag to make it softer than just two pieces of fabric sewed together.

It took me a week to sew/create pattern for this bag and accessories.....I enjoyed the challenge....but needed to exercise a lot a patience during the many undo's and redo's that occurred during the creating process!

I was able to use it in the past couple days and really like how the working yarn sits in the bag as I use it....  It is a sturdy yet soft bag.....All done!!!!!!!!!
Working yarn on left side sitting in its cylinder pocket, great book Crochet 101 in book pocket, and hook wallet sitting inside.  (The other side pocket is for the great book Crochet Stitch Bible that I recently ordered from Alibris, and is on the way........)  You can also see the closure over the pocket the book is in.
Bag and accessories....I made an extra wallet (to left ouside the bag) to hold the crochet stitch markers.

 Happy Creating, Happy Sewing, and Have a Joyful Week!


Sunday, June 3, 2012

BodyBoard Bag

About a month ago, Jerry asked me to make a bag for his new bodyboard.  The bag basically keeps the sun off and also is protective to keep the board from being scratched when in the garage.

I had a couple flannel sheets that I had sewed to be a comforter cover so I took them apart.  The process was pretty simple. 

I basically laid the bodyboard on the sheet and put pins around it  to mark where to cut it.  Then I sewed it on the sewing machine around 3 sides.  It was too large so I sewed it in more and cut off the extra fabric.  Then I turned down the top one time and sewed it to be a casing.  Jerry had a shoestring that he wasn't using so we pulled it through the casing and the bodyboard bag was finished!

A few pictures are below:
Folded sheet in half
Here is the bodyboard on the sheet and I pinned around it to make the seam line.
Sewed around the 3 sides.  Picture shows me sewing seam along the folded side.  I cut it open after sewing the seam.
Tried to show the green shoestring that we pullled through the casing.
Jerry and the new Bodyboard Bag

Sunday, April 15, 2012

Jeans Remade Into Grocery Bags

About 2 years ago a friend gave me about 11 pairs of jeans that he and his son were no longer wearing.  They sat around and then I made 3 really nice purses for 3 friends of my daughter Mary as thank you gifts for their help with her wedding.  I made a few pairs of jeans for my grandkids out of more pairs of them and had about 6 pairs left along with 3 that I outgrew.  They continue to stare at me every time I open the closet door.

I determined that this weekend I would make market bags from them.  The grocery bags I have been using that were purchased from various stores are starting to wear out There was no rhyme or reason to the jean bags....just started cutting and sewing not even caring about thread matching, etc.  The ecru colored purse is from the same pair of pants I used to make the cargo pants for Canaan a few weeks ago.

Added Cloth Belt to this one to spruce it up
Love the detail on the pockets on this one!
My first attempt at a rectangle bag....the one in the tutorial below came out better.
My favorite one......
Then, Jerry said he wanted to help me make one that would be the same size as my favorite Trader Joe's bag.  I didn't have my camera out and he said....well, aren't you going to take pictures?...so I did!
I took pictures to make a semi-tutorial....Hope it is not too confusing.
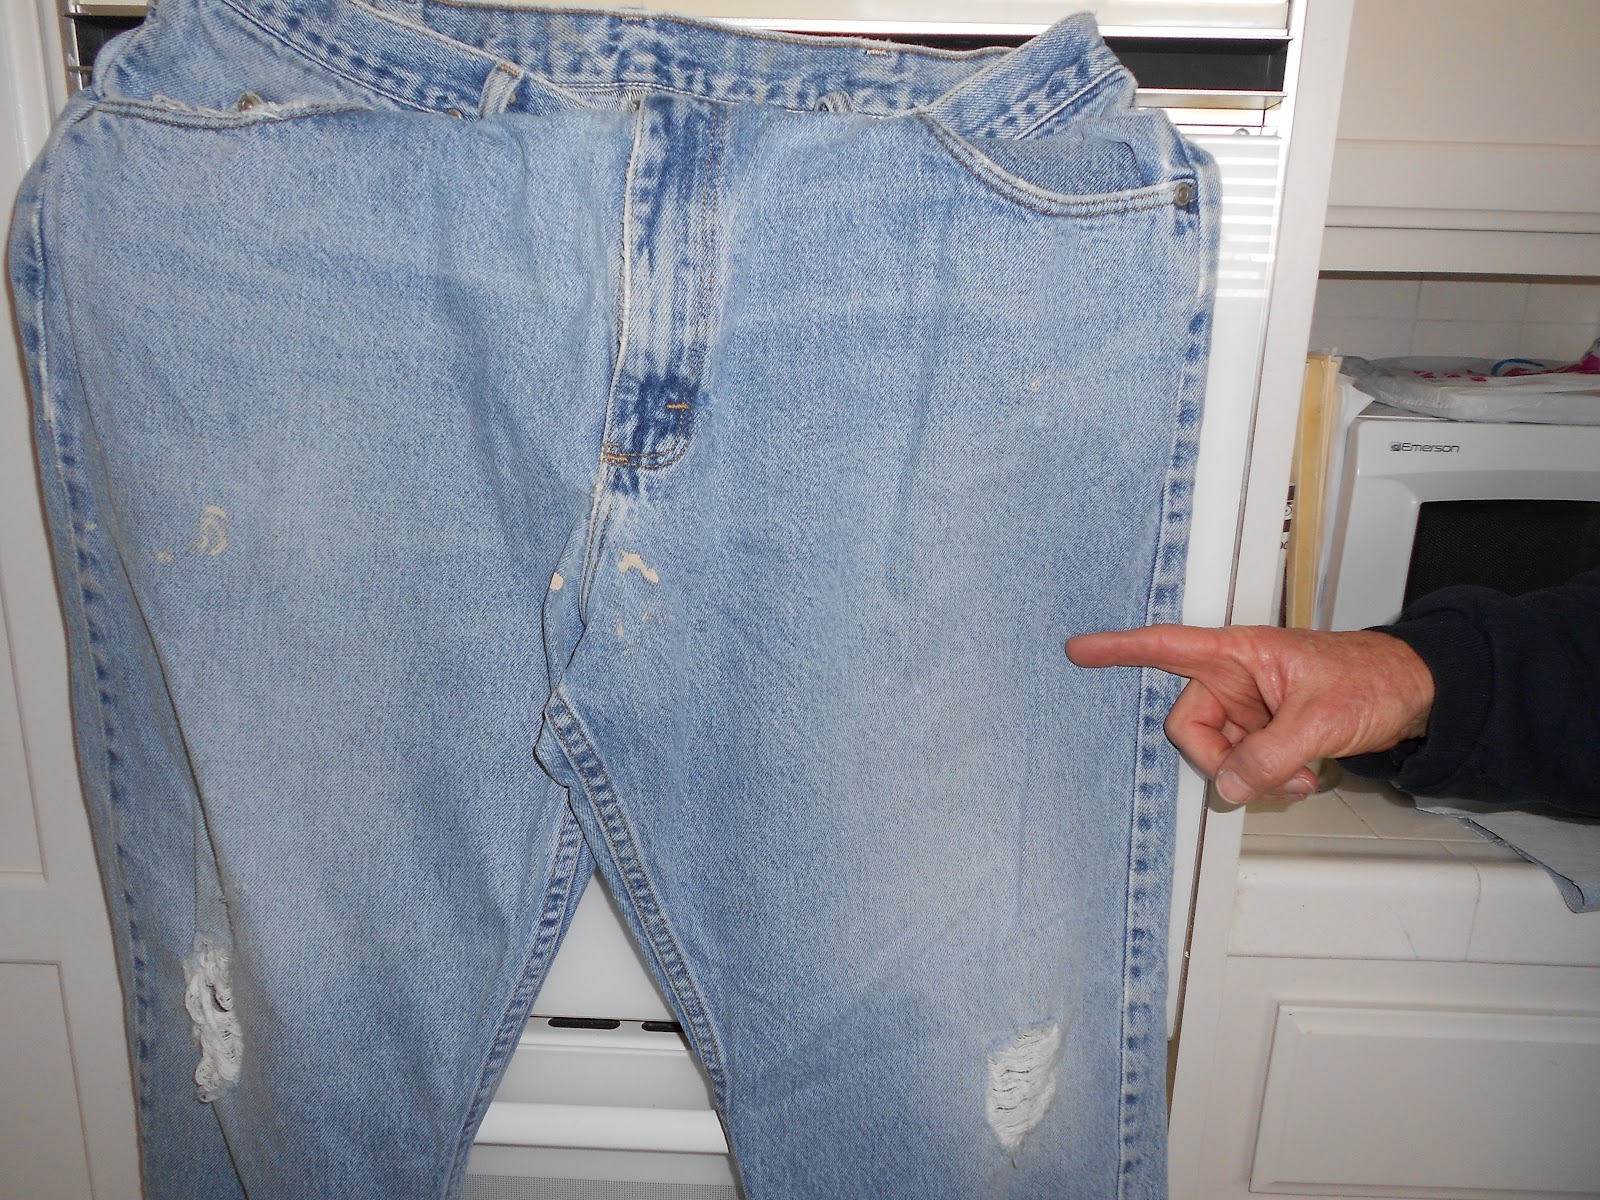
 This is the pair of jeans before we started cutting.
 Jerry is pointing to approximately where we did the first cut.  We cut pieces off of each pants leg. 
We then cut each piece long enough to match the height of the Trader Joe's bag.
When I cut down the center of the leg pieces of the jeans they would flare like a skirt.  Jerry used the Framing-square to make straight edges on the two leg pieces.
I sewed two of the edges together and then sewed the other two edges together.
Jerry uses the L-square to cut out the rectangle shaped bottom piece.
 I then sewed the bottom piece to the top piece and used the waistband to make the straps. In picture above the side seams are the two seams of the top piece.  
 This is the back of the bag...sewed the straps down to be a little creative:):)
A close up of my "creativeness"....:)
I used a back pocket from the pair of jeans to sew over a hole on the front side of this very cute grocery bag!!!!!

Time to go to the store!